WordPressで構築したホームページでお問い合わせフォームを設置する際に多くの方は「Contact Form 7」を活用されるでしょう。ただ、フォームのレイアウトがイマイチなのでスッキリさせたいですね。
目次
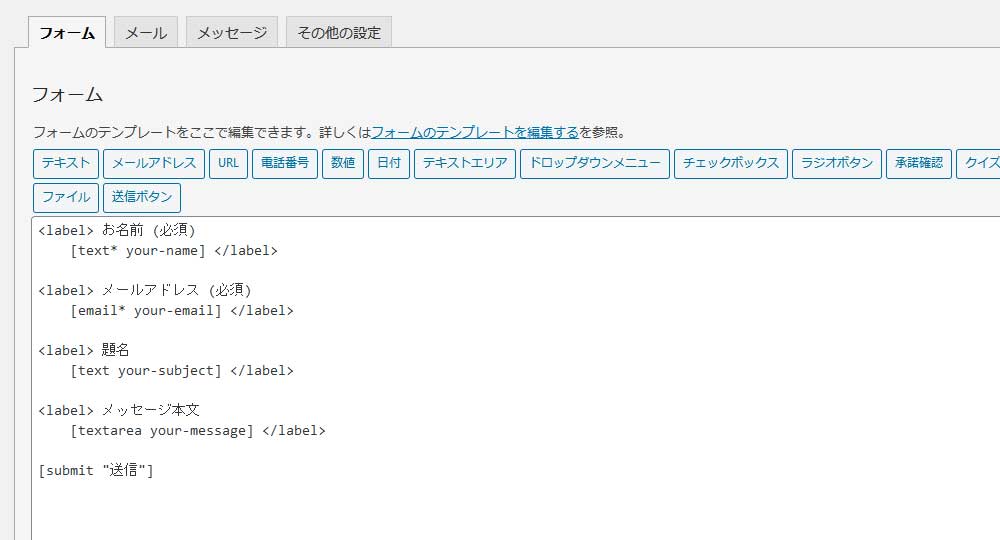
初期状態でのお問い合わせフォーム

Contact Form 7で新しくフォームを作成したときのフォームは上の画像のようなフォームです。もちろんこのフォームでも送信できるので機能的には問題ありませんがちょっと見た目を整えたいです。最初のお問い合わせフォームの編集画面は以下の画像のようになっています。
テーブルの記述に編集する
フォーム編集でテーブルの記述に修正します。
<table class="contact-form">
<tr>
<td>お名前<span>必須</span></td>
<td>[text* your-name]</td>
</tr>
<tr>
<td>メールアドレス<span>必須</span></td>
<td>[email* your-email]</td>
</tr>
<tr>
<td>題名</td>
<td>[text your-subject]</td>
</tr>
<tr>
<td>メッセージ本文</td>
<td>[textarea your-message]</td>
</tr>
</table>
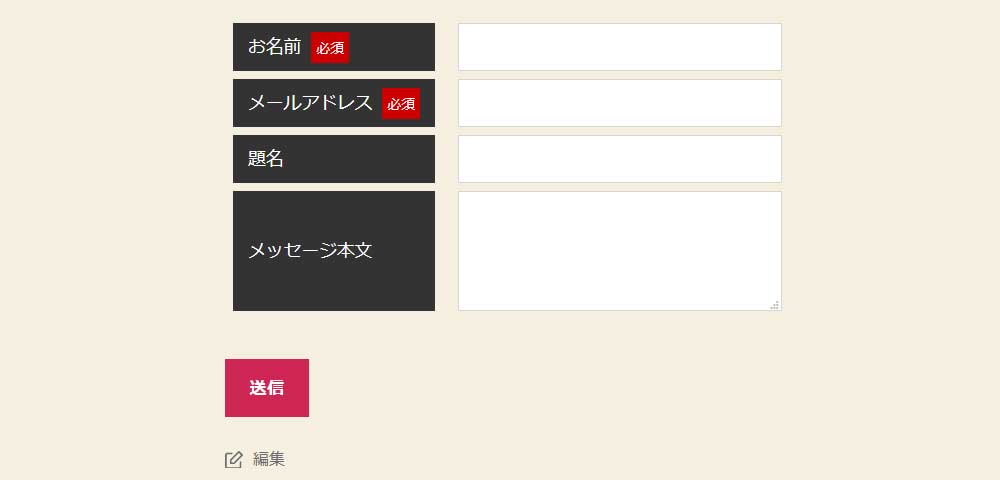
[submit "送信"]このように記述するとテーブルレイアウトになります。

CSSを編集
さらにCSSでレイアウトを整えます。ダッシュボードの「外観」→「カスタマイズ」→「追加CSS」で以下のように記述します。
table.contact-form {
width: 100%;
border-collapse: separate;
border-spacing: 8px;
border: none;
}
table.contact-form td {
border: none;
padding: 0 15px;
}
table.contact-form td:nth-child(1) {
white-space: nowrap;
background: #333333;
color: #FFFFFF;
}
table.contact-form td:nth-child(1) span {
background: #CC0000;
padding: 5px;
font-size: 0.8em;
margin-left: 10px;
}
@media only screen and (max-width:620px) {
table.contact-form td {
display: block;
padding: 15px 0;
text-align: center;
}
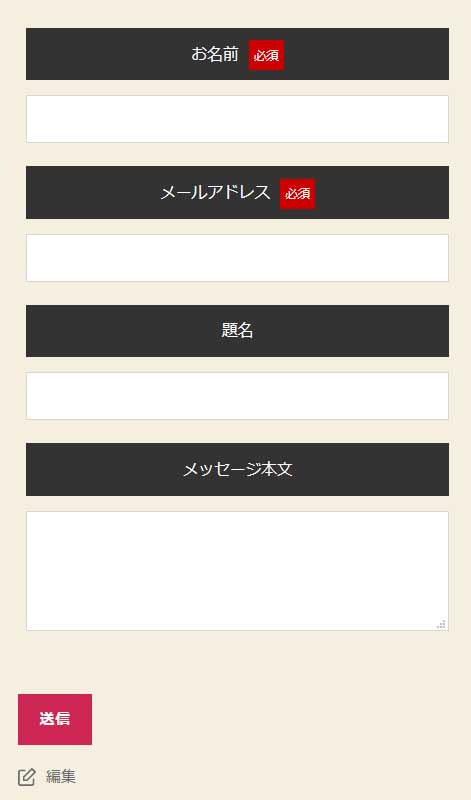
}このように記述するとフォームのレイアウトは以下の画像のようになります。
上記CSSでは620ピクセルより幅の小さな画面ではテーブルのレイアウトが変わるようにしています。その時の表示は以下の通りです。